 
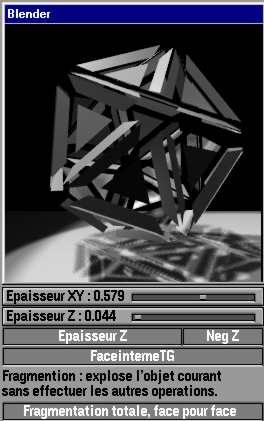
Testing the python file :french & english version . 8.8L (updating date : 27/10/2008) A few precisions for the neophytes whom have never had the occasion to work with a modeling tool At the origin of this script, is the need to show the shadows casted by the wireframe structures. Because it is not sufficient to choose the Wire option on the materials settings to make them appear in an image. Thus, basically, Tesselate transforms the mesh so that the light is intercepted by narrow faces as close as to the original wire shape. To obtain this effect, it was necessary to empty the face and fill it again with several other facets (what justifies the name of the script, tessel in english, refers to the mosaic, but it is also the name of a tool which produced sharp-edged divisions in 3DS 2.0 or 3.0). A facet for each edge, plus an optional internal facet. Once these facets were recreated, it was possible to handle them in several different manners to obtain different results :
It was also possible to repeat the operations in a recursive way to obtain extremely complex shapes Necessary Additional knowledges :
This
is resulting in the creation of an internal facet which can be opened or
closed. The distance of this new facet from the origin plan can be modified.
Or towards the interior by pressing the Neg Z button :
Finally it is possible to dismantle ( splitter ) all the faces, or only the selected ones (this tools works with normal edit mode and not with the old faceselected list taken in the faceselect UV mode), into autonomous facets which one can set aside and separate by using the Smooth option from Editmode menu F9:
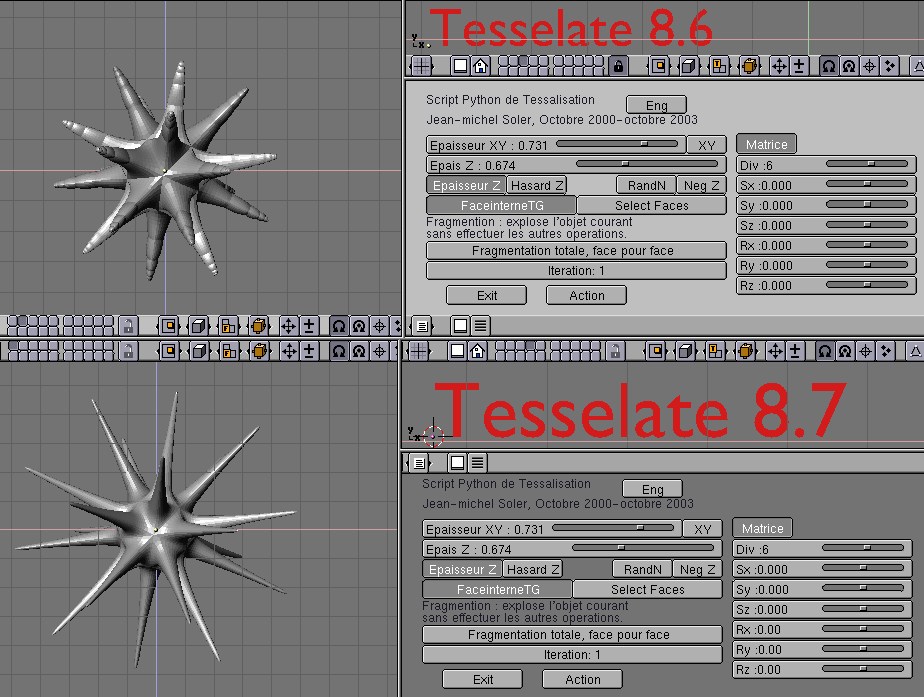
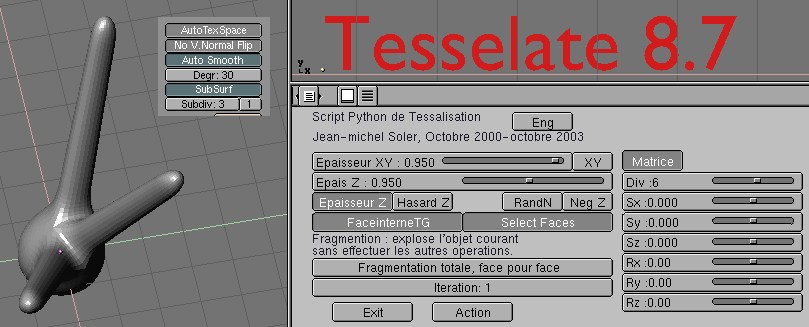
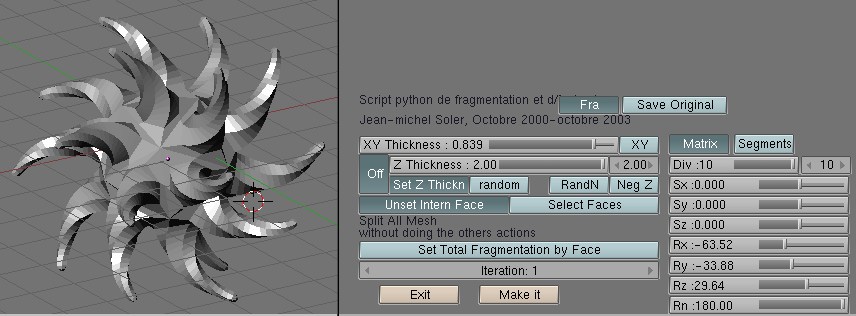
A matrix option allows to divide the extrusion (equal to the extrude function in blender) into several segments or fragments that we can orient and enlarge freely along X, Y, and Z axes, centered on the object or on the face they descend from. The number of division is controlled by the Div button . In the 8.6 version, segments were underlined,(in fact, those segments are only visible in surface subdivision, as it is an additional face into the interior of the object volume that gives the impression of a throttling )in the following versions, it is possible to deactivate the puffy aspect that the throttling gave. See image below.
Operations can be restricted to a certain number of faces that are selected getting through the "FaceSelect mode"(the F key, is the UV coordinates creation interface).
Precision on the Faceselectmode: After having selected the faces it is necessary to leave this mode by pressing F key again, because it is impossible to work in python under these conditions.
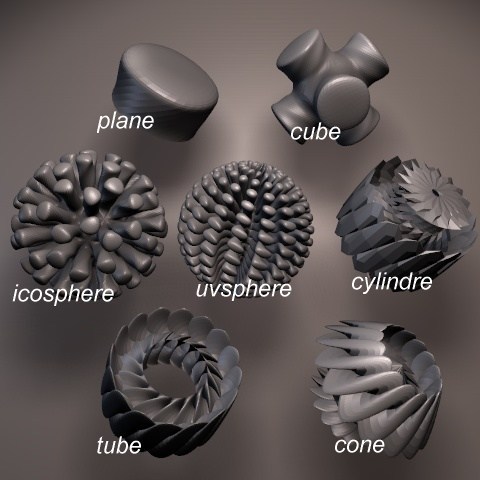
The different shapes possibilities
Illustration of the axis concept /1
Illustration of the axis concept /2
Illustration of the axis concept /3-4-5
Wrapping 
Absolute/relative mesh animation
Animation
The recording of the parameters should allow to construct a complex shapes database that will occupy a very little storing place. - v 8.8.f: (1) improvement: The Split mesh option preserves materials and UVWeb Links http://www.zoo-logique.org/3D.Blender/
The questions concerning this page can
be asked on :
|
|||||||||||||


